Using the Ride with GPS Club Account to plan your events and give your participants navigation in the mobile app is just one of the many feature available to you.
Sign up for a club account:
To create an Event page where participants can take advantage of mobile features like voice navigation, offline maps, and PDF printing, you’ll need to start a Club Account if you don’t already have one.
Learn more about the Club Account.
Set up your Club Account profile:
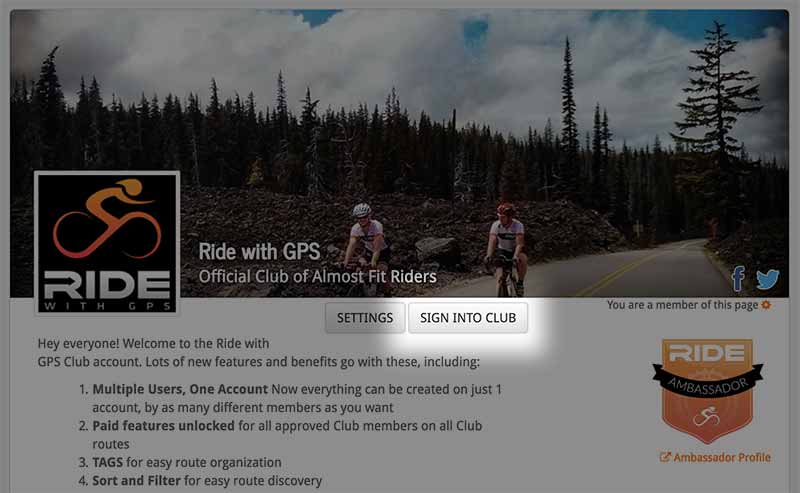
- Go to your Club Account page.
- Click the SETTINGS button.
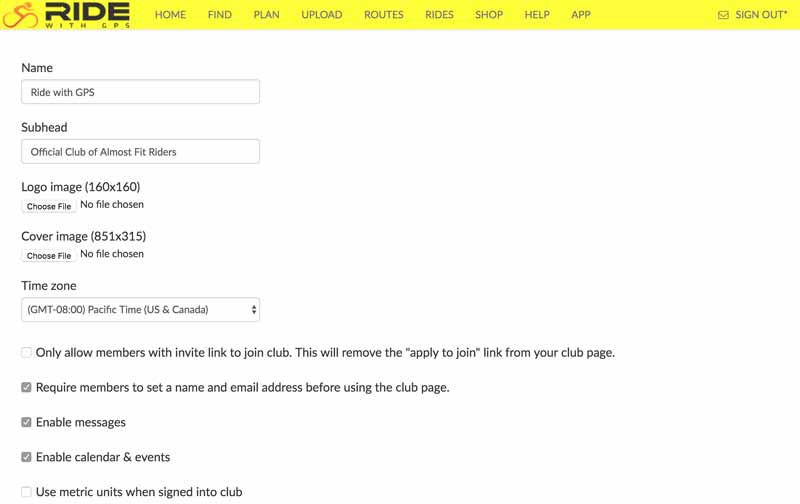
- Give your Club a name, subhead, logo image, cover image, timezone, and click the options you want enabled for the club account.
For more details, check out the Club Account Setup article.
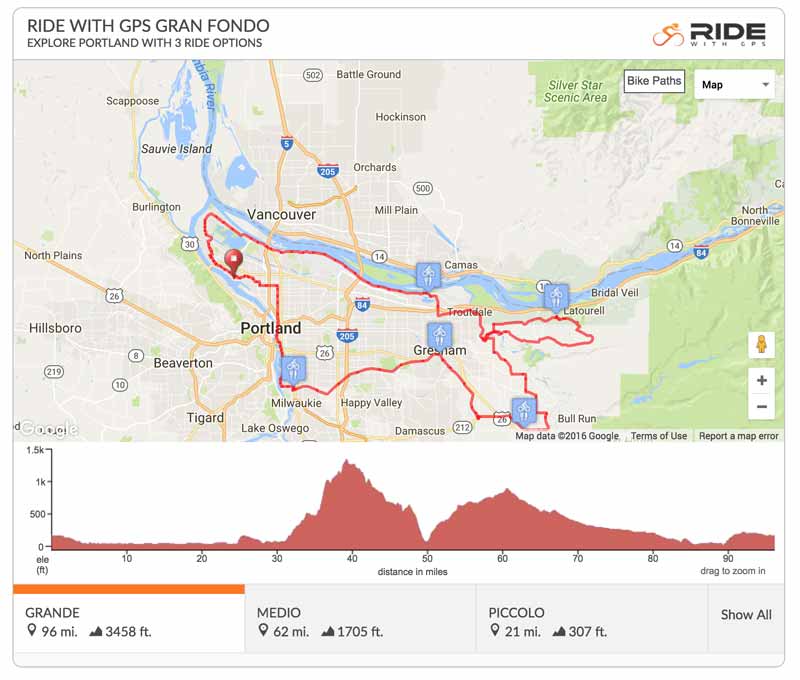
Add routes to your Club Route Library
Once you have routes copied over to your Route Library, you can start creating and Event Page.
Create an Event Page:
- From your Club Account page, click the SIGN INTO CLUB ACCOUNT button.
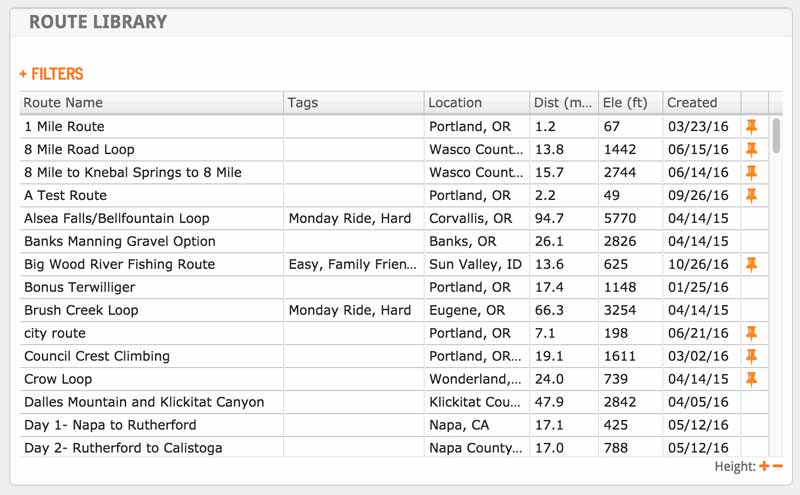
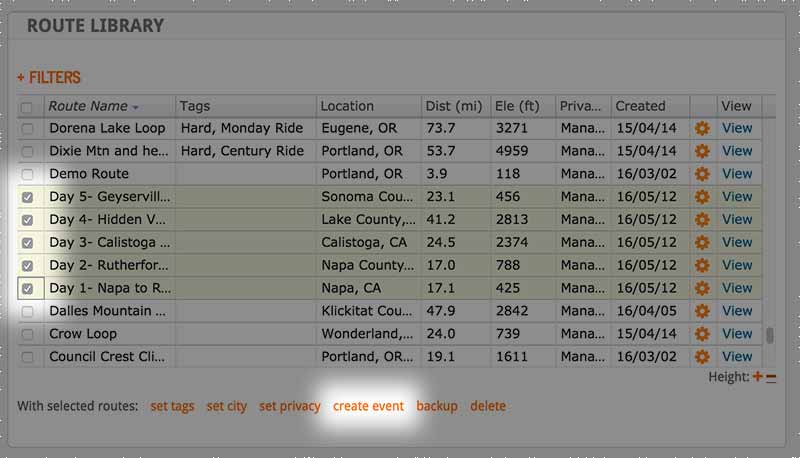
- Scroll down to the route library and select all the routes you want for the Event.
- After you have selected your routes, click CREATE EVENT
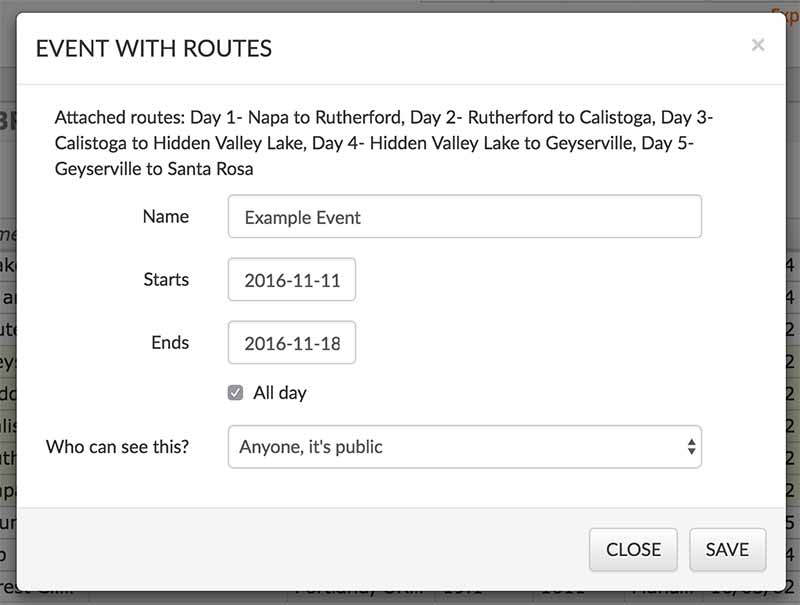
- Select EVENT WITH ROUTES
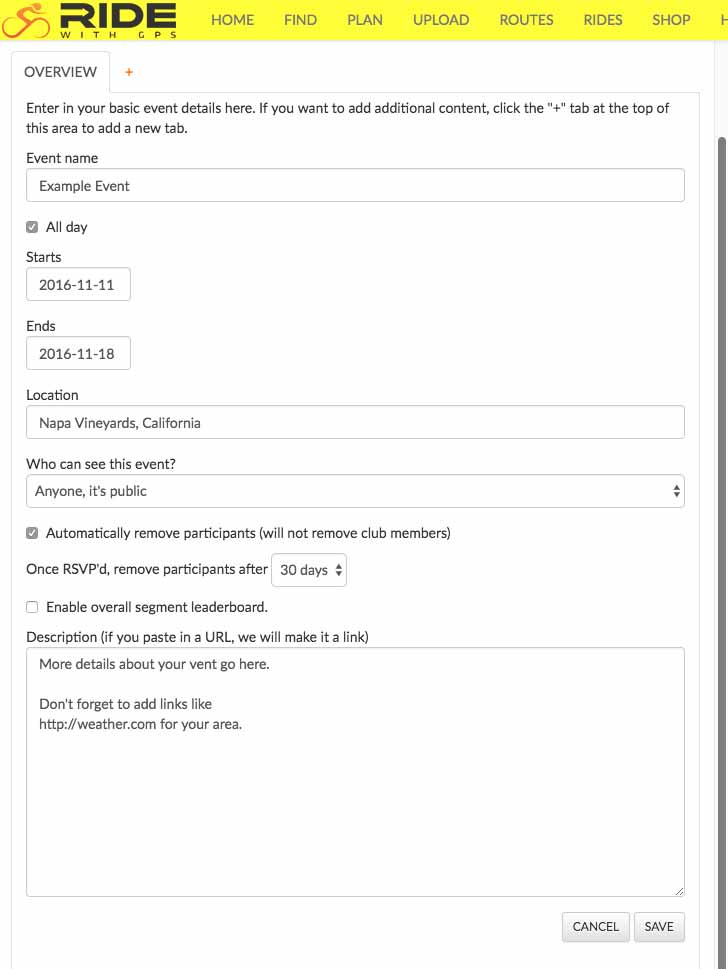
- Give the event a Name.
- Confirm start date, give an end date is this is a multi-day event.
- Uncheck All day to give the event a specific start time.
- Set the Who can see this:
- Anyone, it’s public – you want anyone and everyone to be able to RSVP to this event.
- Club members – if you want only those that are invited to be able to RSVP.
- Route managers – Only club members with the Manages route ability will be able to view and RSVP to this event. Use this setting during the planning phase of your event so that nobody else can see the event page until it’s ready to go public.
- Click the SAVE button to create the Event page and see more options.
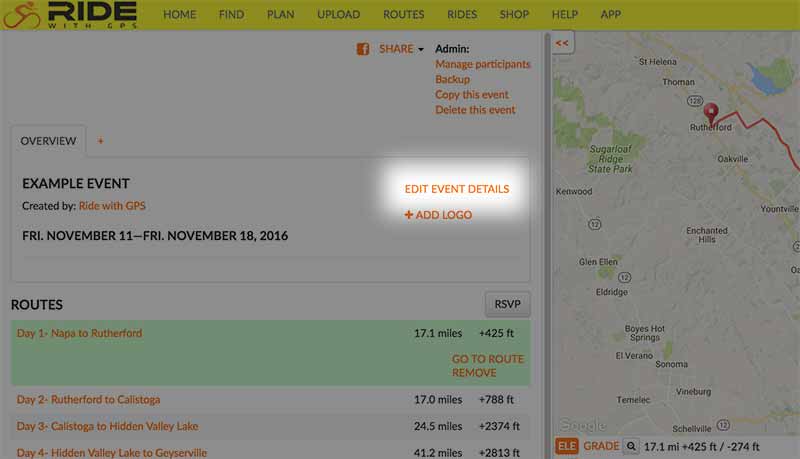
- Click EDIT EVENT DETAILS to control even more settings for your event page and how it behaves.
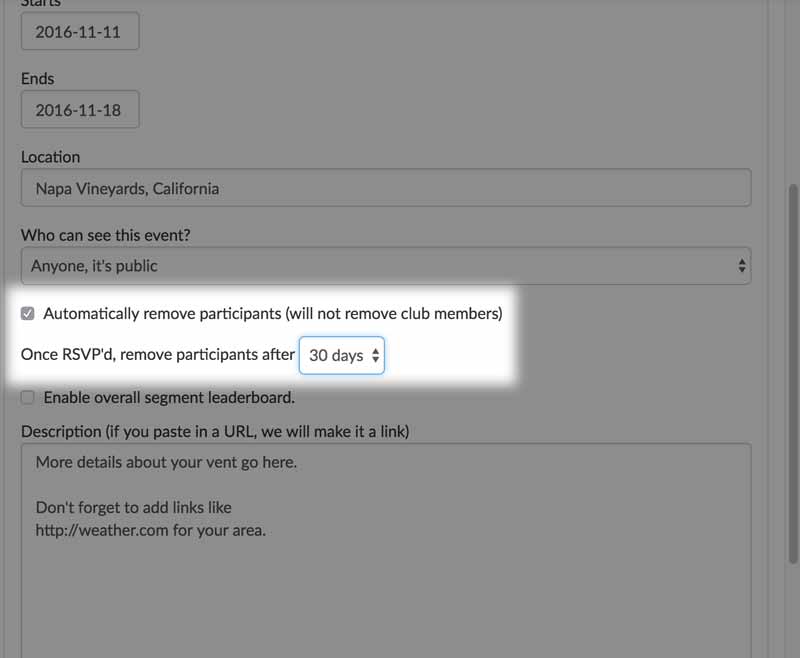
- Optional: Set the Location. Fill in this field with a landmark, location name, or city that means something to your participants.
- Optional: Checkbox for Automatically remove participants. This option clears your participant list after a time has passed. You’ll only want to use this option if you plan on re-using the event page for a recurring event.
- Optional: Checkbox for the overall segment leaderboard. Learn more about this option in Event Leaderboards.
- Give your event a basic description. If you paste in a URL to another web page we’ll hotlink it for you automatically.
- Click the SAVE button when you are finished.
Invite Participants:
Now that you’ve created your event page with details and routes, it’s time to start inviting participants using a link that contains the RSVP code.
Get this link and email it to your invitees:
- Sign in as the club account.
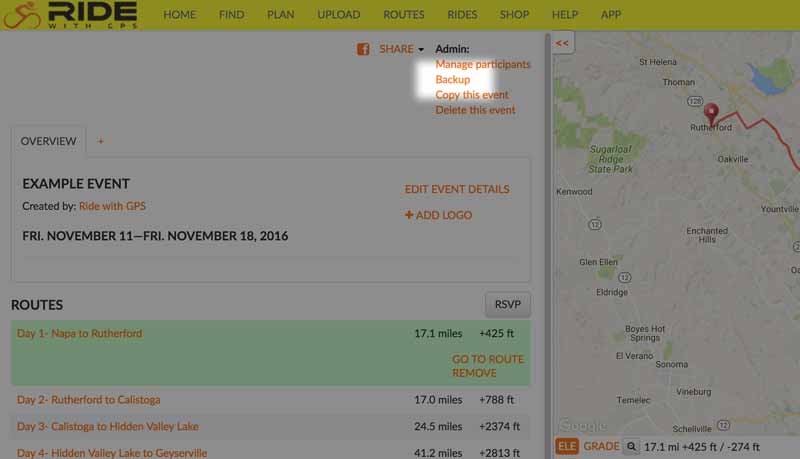
- Go to the event page.
- Click Manage Participants
- Click INVITE PARTICIPANTS
You’ll get a box with an RSVP code in it that you will want to send out to your invitees. - Right-click and COPY the entire code in the box
- Click the CLOSE button.
- Paste this RSVP code into an email to be sent out to your invitees.


We recommend the following points in your invite email:
- Where and when the event takes place
- Rider expectations
- The RSVP code that you just copied from the event page.
- A link to get the mobile app for iPhone and Android.
Message Participants:
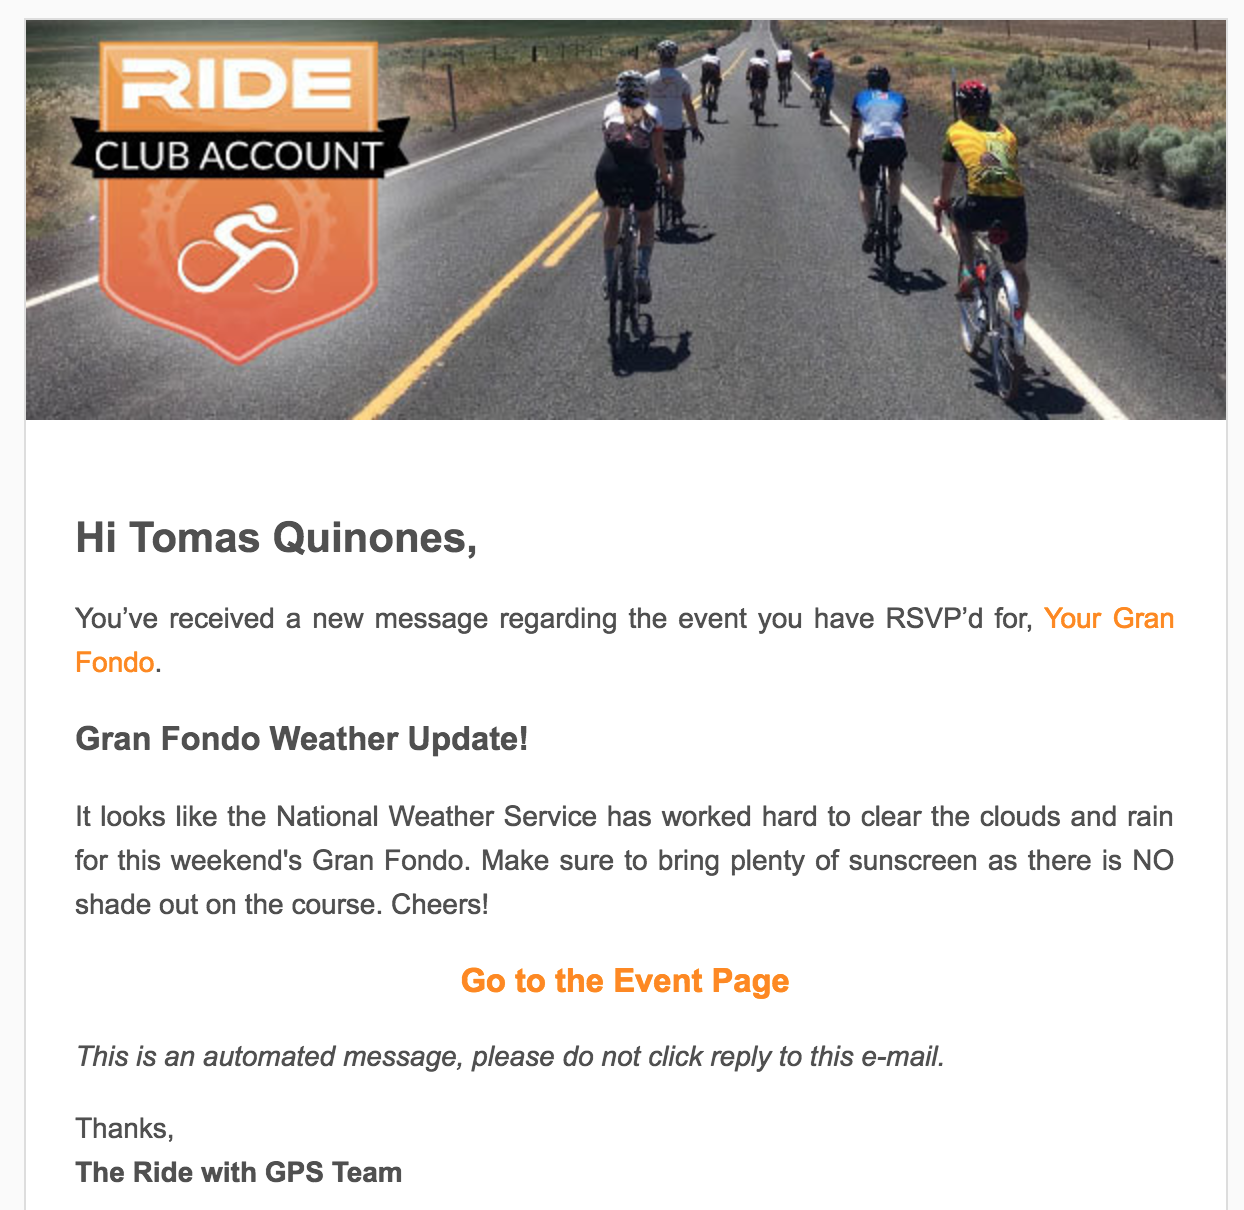
After your invitees have clicked the RSVP code and have been added to the event as participants, you can send all your participants messages directly from the Event page.
We recommend event messages like reminders, last minute route notifications, weather reports, or anything that you might not have included in your original invite.
- Sign in as the club account.
- Go to the event page from which you wish to send a message.
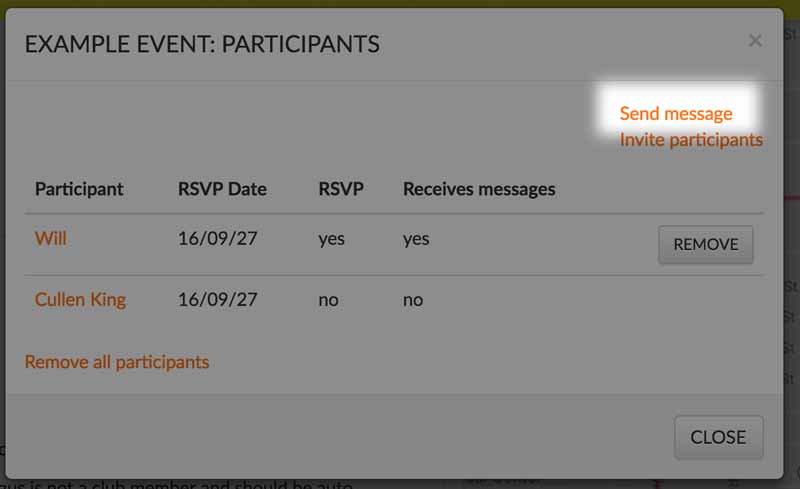
- Click MANAGE PARTICIPANTS
- Click SEND MESSAGE
- You’ll get a prompt to fill in a Subject and Message.
- After you have typed or pasted your message, click the SEND button to finish.
Backup Your Event:
- Sign in as the club account
- Go to the event page that you wish to backup.
- Click the BACKUP link
- Click OK to the backup confirmation prompt.
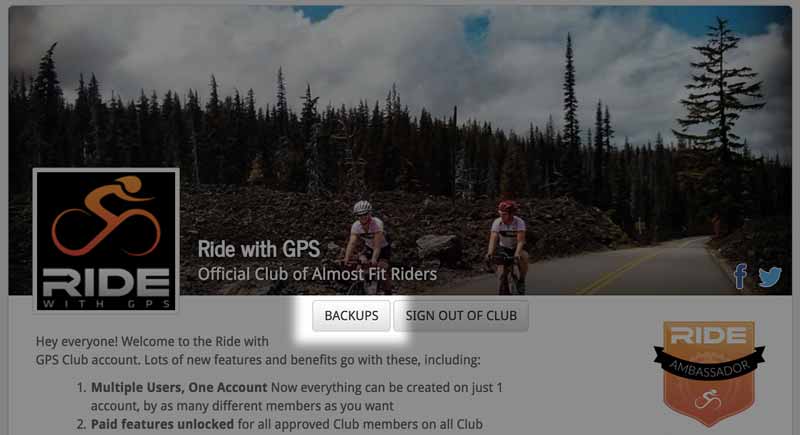
- You’ll find your event backup by clicking on HOME (while still signed into the club account)
- Click on the BACKUPS button.
- You’ll be taken to the Club Backups page where you can find all club backup files available for download.
Learn more about Club Backups.
When the Event is over:
The event is over and your riders have gone home. What do you do with the event page now? You have some options available:
A. Leave the event page as is and let the leaderboards stand indefinitely.
B. Copy the Event so that the original is left online but the copy can be given a new date.
C. Clear the participant list and reuse the event page for a different date.
Option A: Leave the event page as-is
No further action is required on your part. If you have set up leaderboards, send the event link to all the participants to encourage them to check out the leaderboards for the event.
Option B: Copy the Event
- Sign in as the Club Account.
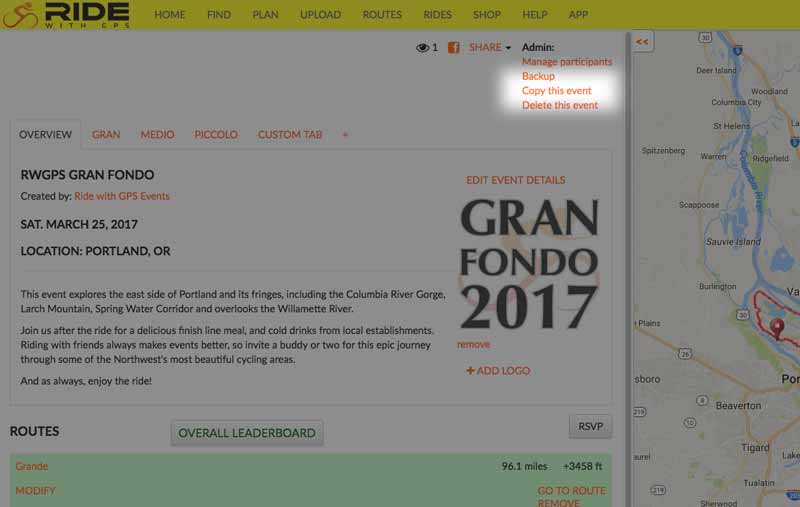
- Go to the Event page to be copied.
- Click COPY THIS EVENT.
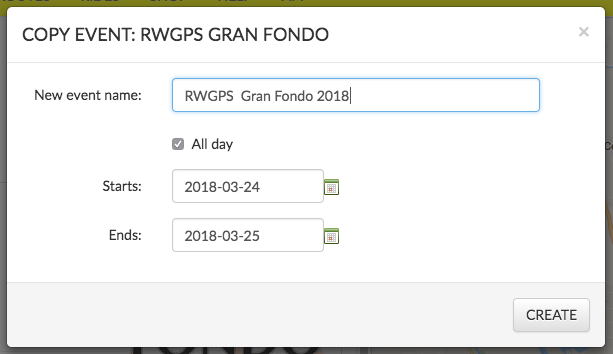
- Fill in the new event name if it will be different. i.e: Change “Gran Fondo 2017” to “Gran Fondo 2018”.
- Change the starting/ending date for the new event.
- Click the CREATE button to finish the copy.
The copied event will have a new URL to be shared to participants but still contain all the routes and event details as the original events and with an empty participant list.
Option C: Clear the Participant List and reuse the Event page
If you just want to reuse the same event page and keep the URL the same, you can clear the participant list one 2 different ways.
Clear the list manually:
- Sign in as the club account.
- Go to the Event page to be cleared.
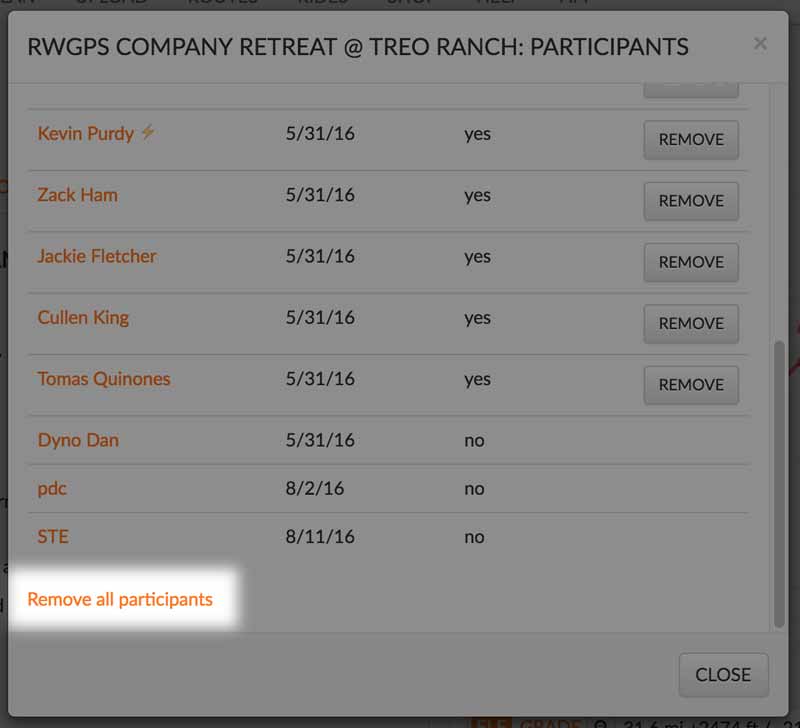
- Click MANAGE PARTICIPANTS
- Then click Remove all participants
This link clears the list of everyone that had RSVPed to the event. Once you clear this list it cannot be recovered and the leaderboards are all cleared.
or
- Sign in as the club account.
- Go to the Event page to be automatically cleared.
- Click the checkbox for Automatically remove participants.
- Select the amount of time you want to pass before the participant list is cleared. 2 weeks, 30 days, or 60 days.
- Click the SAVE button when you are finished.
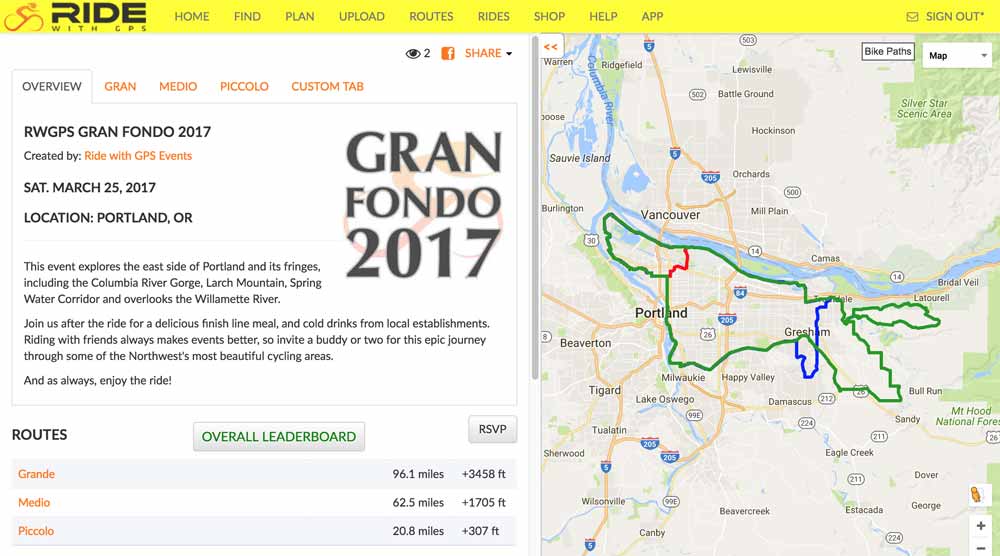
Example Event Pages:
Event Sharing Options:
Use the Multi-route Embed so you can have a preview of the routes embedded on your own website.