The Regional Embed is the cornerstone of the Tourism account. Once you’ve got your route library and POI library populated with your region’s best routes and points of interest, you can use them to generate an interactive map that you can embed on your website. Using the regional embed, visitors to your site can see the best routes in your area, click through to access individual routes which they can then navigate on the Ride with GPS app or their cycling computer, or print out a map and full cuesheet.
Jump to:
Before you get started, make sure your tourism account should have a filled-out Route Library and POI Library with a liberal use of tags on all items to be shown on the map.
Learn more about the Route Library
Learn more about the POI Library
Getting Started:
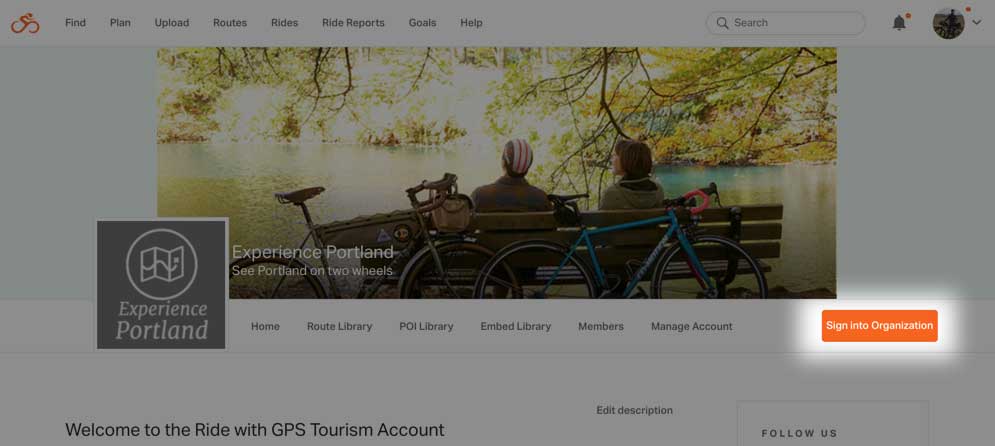
- Sign into the Tourism Account
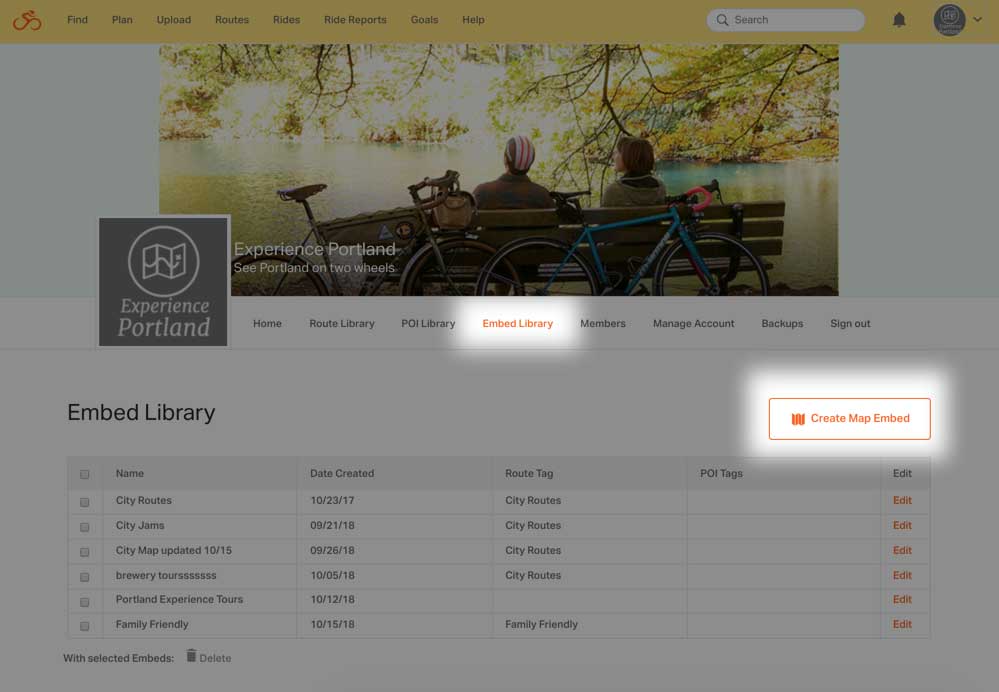
- Go to the EMBED LIBRARY
- Click CREATE MAP EMBED
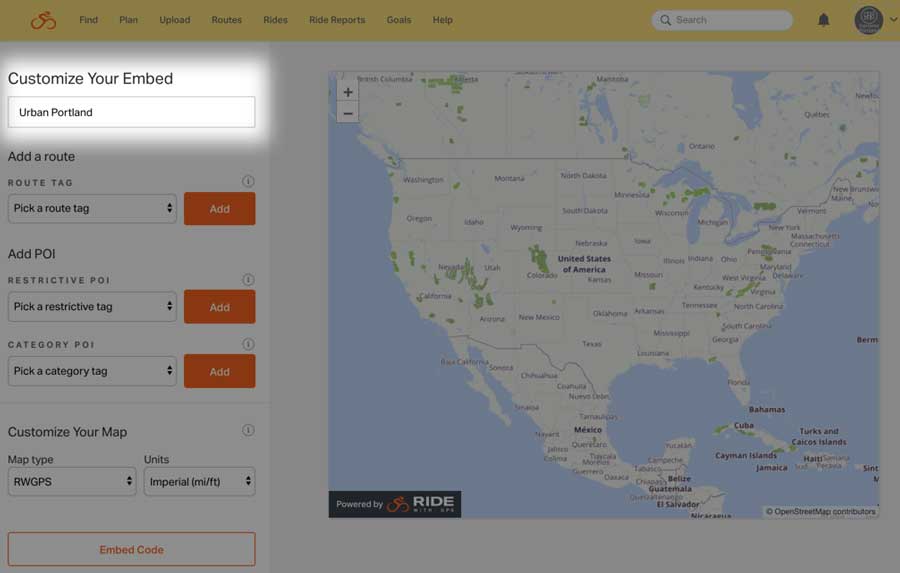
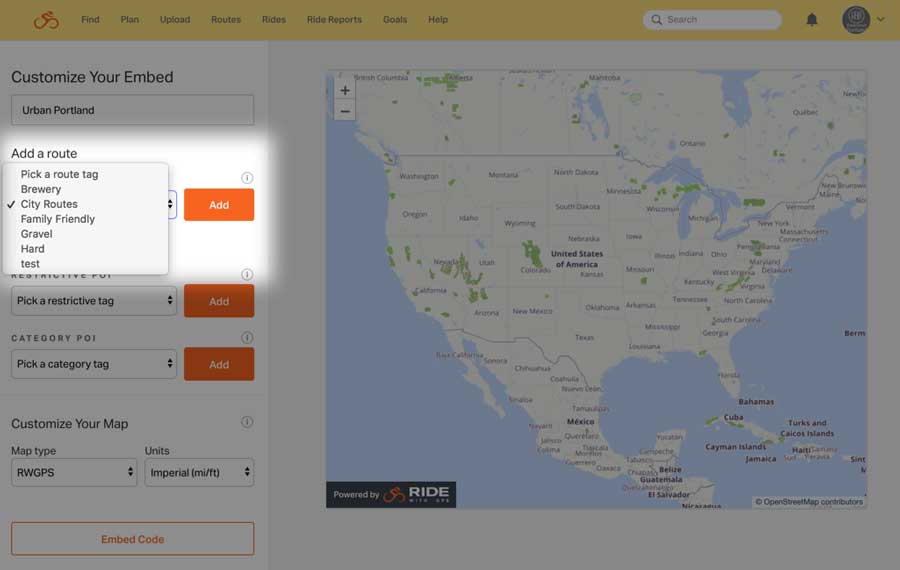
- Give your embed a name.
This is what will show up in the Embed Library and the top of the embed. - Select a Route Tag from the drop-down list.
- Click ADD.
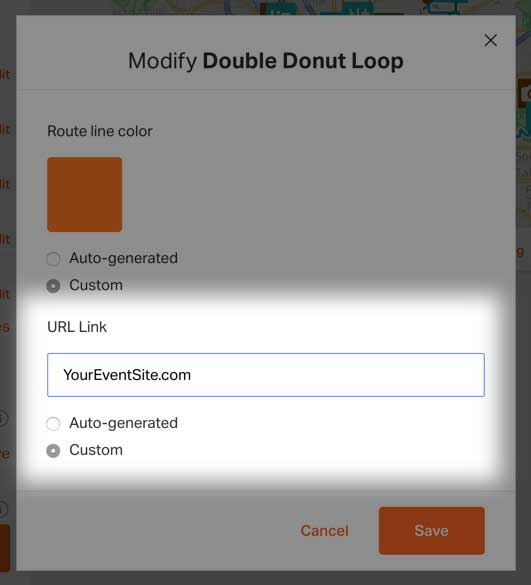
- Click EDIT
- Enter your Custom URL Link in the text field.
- Click SAVE
- Select the POI tags you want displayed on the map into a category
- Click Add to have them displayed on the map and a tab on the bottom of the map. Each category will be listed under the chooser along with it’s status and an option to remove it.
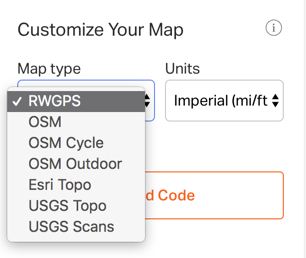
- Select your preferred map style from the list.
- Select the Units in Imperial or Metric
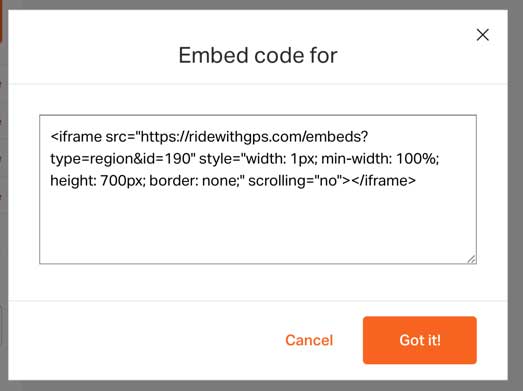
- Click the button EMBED CODE to get the html you’ll need for your website.
- Click EDIT to change anything about an existing embed.
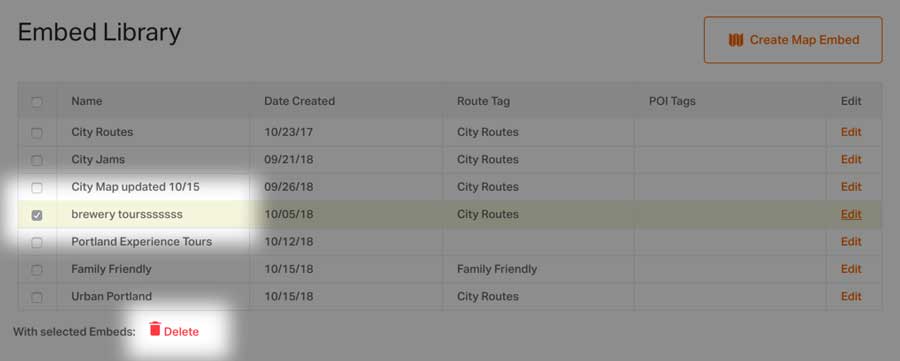
- Check the box next to the embed to be deleted.
- Click DELETE.
Adding POIs
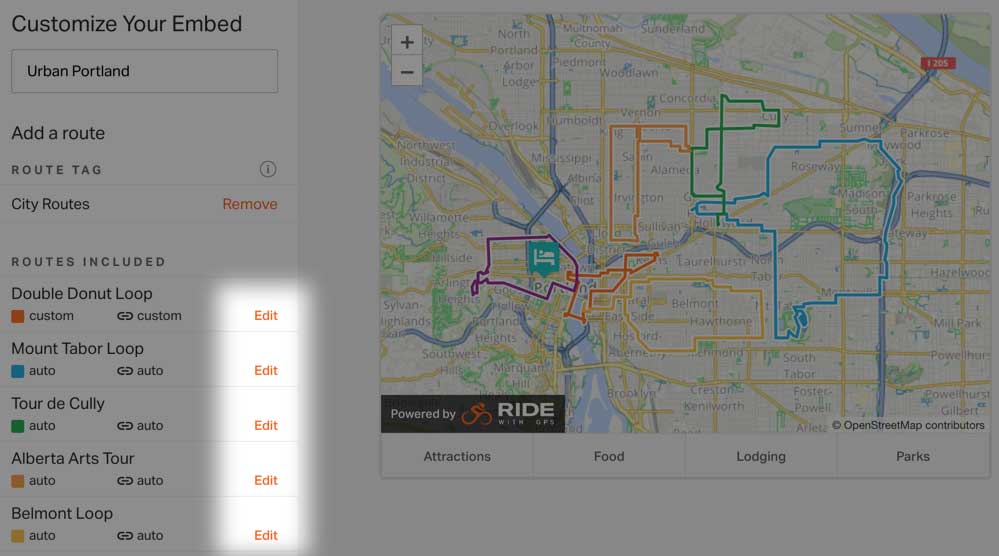
This will show all routes with your chosen tag. Don’t see any routes? Go back to your route library and check your route tagging.
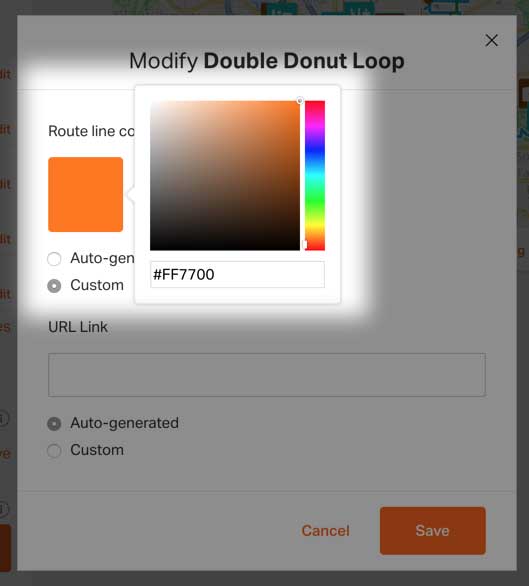
Route Colors
The route colors and links are assigned automatically, but you can change these settings to your liking.
Customize links on Routes
Add POI
Restrict the POI categories to a specific tag. E.g. input “Portland” to show only Portland tagged POIs on any category.
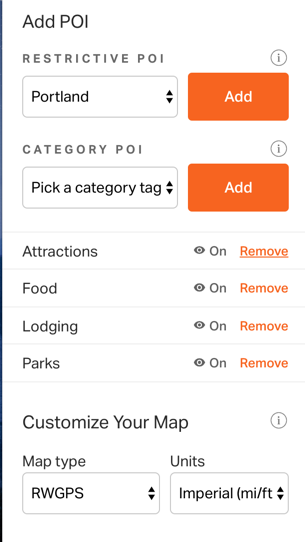
Category POI
Customize Your Map
Embed Code
Managing your Embed Library
Every embed you create for your organization will be listed in your Embed Library.
Listed by the Name you’ve given the Embed, it’s creation date, the Route Tag, and categories displayed.
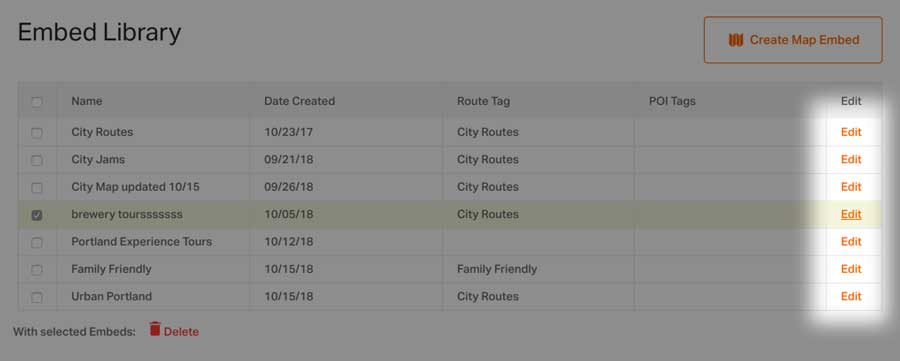
Deleting an embed cannot be undone!