The eTrex is a sturdy GPS unit that is great for all sorts of uses. It runs off of AA batteries so you never have to worry about charging the device or not being able to keep it powered on multi-day tours.
Although there are a couple of feature differences between the two models, the configuration and use of tracks is exactly the same.
The eTrex series doesn’t have a specific distance limitation, but it is limited by the number of course points or track points on the route. If you export the route, check it on the device to make sure the entire route is visible. If the latter part of the route gets clipped, then split your route into multiple routes. Learn more about splitting routes.

Exporting a route to the eTrex
After planning a route on our website, you’ll want to export the route to use on the eTrex 20 & 30.
- While viewing any route, click MORE > Export as File
- Then click GPX Track.
- If you are a Premium or Basic subscriber, click the option to have the cues exported as a waypoints.
- Plug in your eTrex to your computer with a USB cable.
- Copy the exported file into the GPX folder on the device.
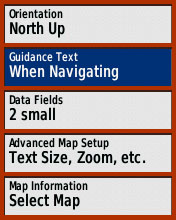
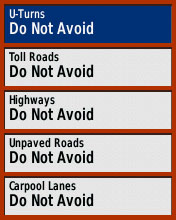
Recommended Settings
We recommend the following settings for your eTrex 20/30 for an optimal navigation experience.

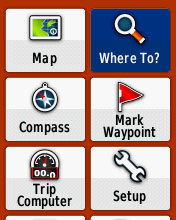
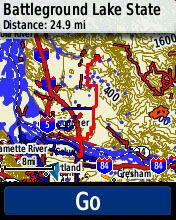
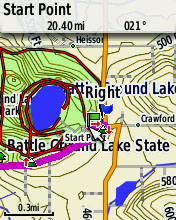
Starting Navigation
Viewing Cues
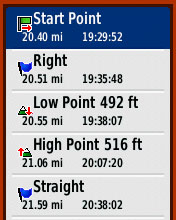
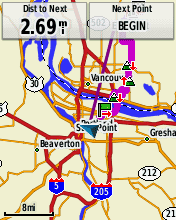
- Tap the Menu Button on the left side, then select Change Data Fields:
- DISTANCE TO NEXT – This will tell you how far to the next waypoint.
- WAYPOINT AT NEXT – This will tell you which cue is next.
A couple of pointers about the eTrex.
- Lithium AA batteries are expensive but will last much longer especially in colder conditions.
- The screen will stay on, but you can turn of the backlight to save power. Tap the light/power button to see the backlight settings, then use the thumbstick to move the backlight brightness slider all the way to the left.